Last night I was chatting with my friend Steve and he mentioned that I should install the Aperture trial. I thought it was a great idea so I did and here are my “first look” thoughts.

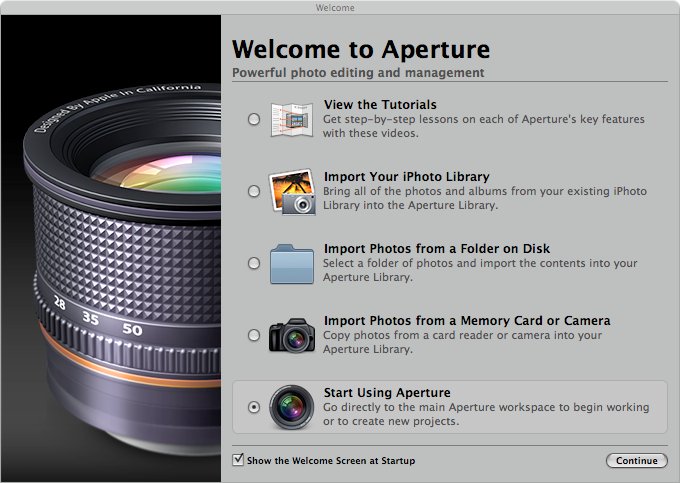
When you first start up the application you have several options to get started. You can import your photos or one of the best things about the first launch that I like is the fact that they have provided quick start tours. What I hate about these quick start tours is that you have to access them online.
As you would expect from an Apple product, importing your photos is easy. However, the image import process seemed a lot slower than it does when I import photos through iPhoto or manually off of the memory card. My guess would be that when the photos are imported, EXIF data and a lot of other information is determined about the photo instead of waiting until you actually open the file. That is my guess.
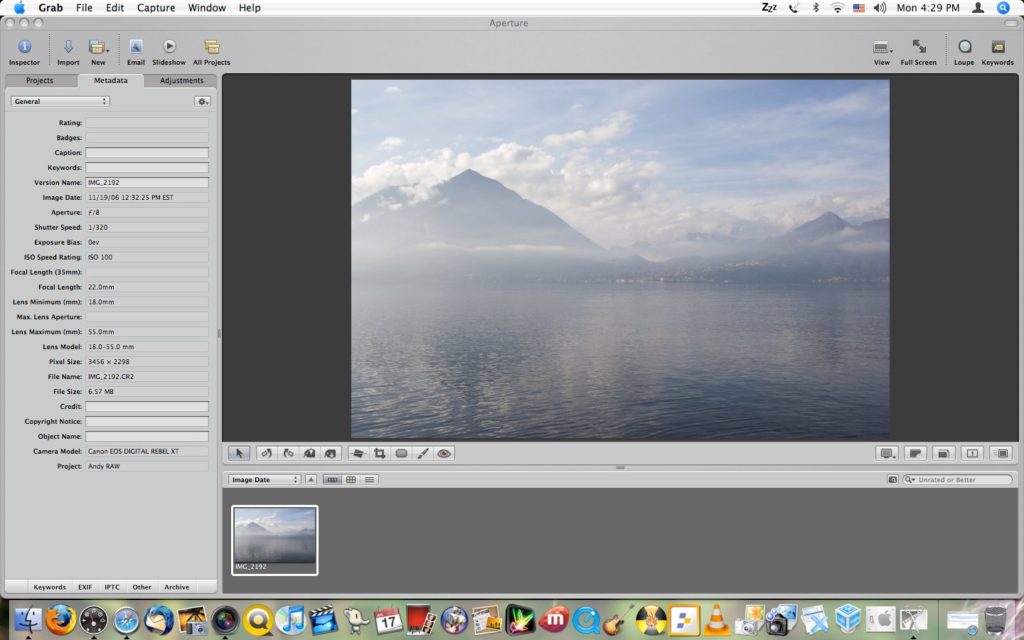
As I patiently waited for my images to import I looked around the application and liked what I saw. The application appears to have a lot of features but they didn’t clutter the application up with a ton of icons and make it hard to understand. Once my photos had imported I was playing around with my photos in no time.

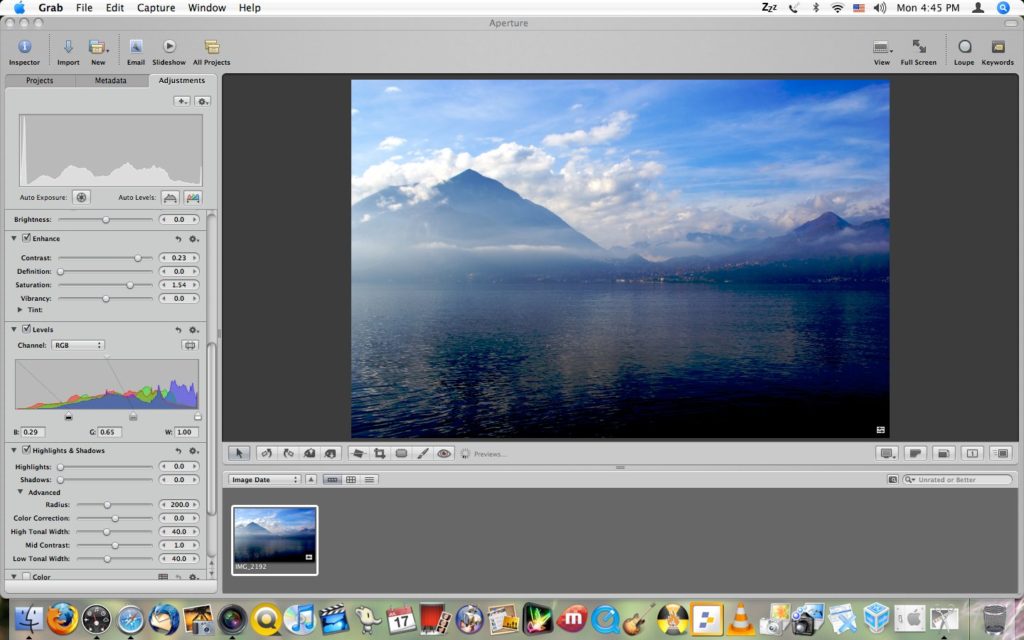
The first image that I opened and started playing with I wanted to sharpen the image up a bit. It took me a little while to find the tool to do it. I had to add a panel to the adjustments panel. Once I did, I was impressed. Not only did I use the sharpen feature to sharpen up the image but there was also a way to adjust the radius of the sharpen effect. I was extremely impressed. The image I was working with was a little out of focus but that feature really improved the image. I used this technique on several other photos and it really brought out parts of the image that would otherwise go unnoticed.
The technique above works really well and really makes a lot of my images look so much better. The only problem with this is that every time you open a new photo to edit you have to add the sharpen panel to the screen again. Annoying. I also don’t see anywhere to make this a standard option.
The next thing that I am completely in love with is the fact that when you are in full screen mode, looking at your images, you can move the toolbars around. You cannot do this in iPhoto or Picasa, which is what I primarily use on my PC at home. Although this feature may seem like a small one, it’s definitely a great feature for me when you are looking at portrait type images where the main focal point of the scene is at the bottom. Also, you can add the panels for adjusting your photos while you are in full screen mode.
As you are working with the images you can un-check the check box beside each adjustments panel to hide those effects. It’s really nice to not have to undo each effect just to see what it looked like previously.
When I got to the point where I wanted to crop an image I was a little bit confused as how to crop the image. I knew to go to the toolbar item at the top and to select the area of the image that I wanted to keep. The problem is, I didn’t understand how to apply that effect. Finally, I clicked on the pointer icon in the toolbar and that applied the crop. Although it’s simple once you figure it out, it takes a little while to figure out.
When I first launched the application I really did not feel as though this application was necessary, for me. To me, it simply looked like an expensive application to organize and do some more advanced changes to a photo than you can in iPhoto. However, I have been playing with Aperture the past few hours and I have noticed that there are a lot of changes I can make to an image, a lot of subtle changes especially, that make the photo a whole lot better.
A feature of Aperture that is a truly must have for any photo organization/manipulation tool is to not overwrite the original images. Using Picasa I have had this feature for a while now and would not want to have it any other way. It’s really nice to be able to make changes to an image and then a year later come back and still have access to the original files.

Where Aperture really shines is the RAW support. Taking RAW photos gives you the ability to adjust virtually every detail of a photo. The camera takes a picture of what it sees without adding any effects or adjustments to the saved image. Once you pull the images from the camera you add the sharpness, color saturation, exposure, etc.
iPhoto has RAW support but it’s very limited in what you can adjust. Aperture on the other hand gives you tons of options for adjusting your photos. You can take an image that was a little too bright when it was captured and make it a little darker, more saturated and sharp to enhance the beauty of the image. Aperture will truly show you the reasons an image captured in RAW format is so much better because you can truly make it an impressive photograph.
If you are like me when you take photos you’ll wind up pulling 10 or more (ok, usually a lot more than 10) images off of your camera of the same thing. For me this ensures that I get a great image. Most photographers do this as well. Usually if I take more than one photo of the same thing I reduce the risk of someone’s eyes being closed or sometimes they’ll be slighty turned in one photo and you didn’t really think about them being turned that way but it turned out really well and you’re glad you took more than one. Aperture really helps out in this. You can add stars to your images. You can add 5 stars to perfect images and 1 star to a poor image.
Another way Aperture helps out in the multiple photos department is stacking. Aperture looks at your photo collection and groups similar photos together. This allows you to easily see the different groups of photos so you can easily find the image you are looking for. I was really impressed with how well Aperture was able to separate the images where I had simply moved the camera to a different angle but not separate images that the camera was still in the same location but moved slightly due to the simple fact that I was holding the camera freestyle.
If you’ve ever used Picasa or a similar photo editing application, you’ve probably tried to increase the saturation of the colors in your images but if you went too far you’d get a lot of little blue splotches. Instead of increasing the saturation of colors overall which is how most other photo editors increase color, with Aperture you can increase a specific color. Aperture doesn’t pull out every single color of your image but it does have a palette that allows you to choose a basic color then you can increase or decrease that color. This is something that you would typically only be able to do with Photoshop or a similar application.
Aperture has so many features, I’ve barely scratched the surface. It’s a great application and I have had a lot of fun with it. The images that I have edited using the software look absolutely fantastic (even if I say so myself). They look a whole lot better than anything I could have done using what I currently use, which is Google’s Picasa. The final question boils down to this, “Is it really worth the $299 price tag?” To answer that question I would have to say yes. I’d say yes especially if you cannot afford Adobe Photoshop. Aperture gives you so many tools to make your images look great and makes it really easy to do. Even though this application has tons of tools for editing RAW images, the other photo editing tools are great for even a point and shoot camera. The non-destructive editing feature of this application alone is a major plus. I haven’t really mentioned the great photo and project organization capabilities. There are a lot of features! I’ve had a lot of fun with it and hopefully, someday, I can afford a copy of it!
Article update: Wednesday, October 8, 2008: Since the original writing of this post Apple has released Aperture 2. I have updated this post with screenshots from that version.
I’m happy to report that Aperture 2 is a whole lot better. What Apple got wrong in the first version has been corrected in this version. I think that Aperture 2 is definitely a lot better than Adobe Photoshop Lightroom. If you’re on a Mac I would definitely recommend Aperture over Lightroom.
Apple re-arranged the application. The problem with the sharpening panel and the cropping I mentioned above has been fixed. Both are more accessible than in the previous version.